
DIY marigold garland
I haven’t gotten out any of our fall decorations this year. For some reason I haven’t been able to let go of summer yet! The garden is still full of tomatoes, jalapenos, sweet potatoes, luffa, and marigolds. Enter DIY marigold garland - a way for me to dry flowers to save seeds AND decorate for fall!
Start by gathering your materials. I gathered 100 marigold blossoms, just by wrapping my fingers around the blossoms and gently plucking them away from the stems. They pop right off. My 21-month-old daughter loves helping with this! For reference, my garland is about 3 feet long and only used about 50 blossoms, packed tightly back to back on the string.
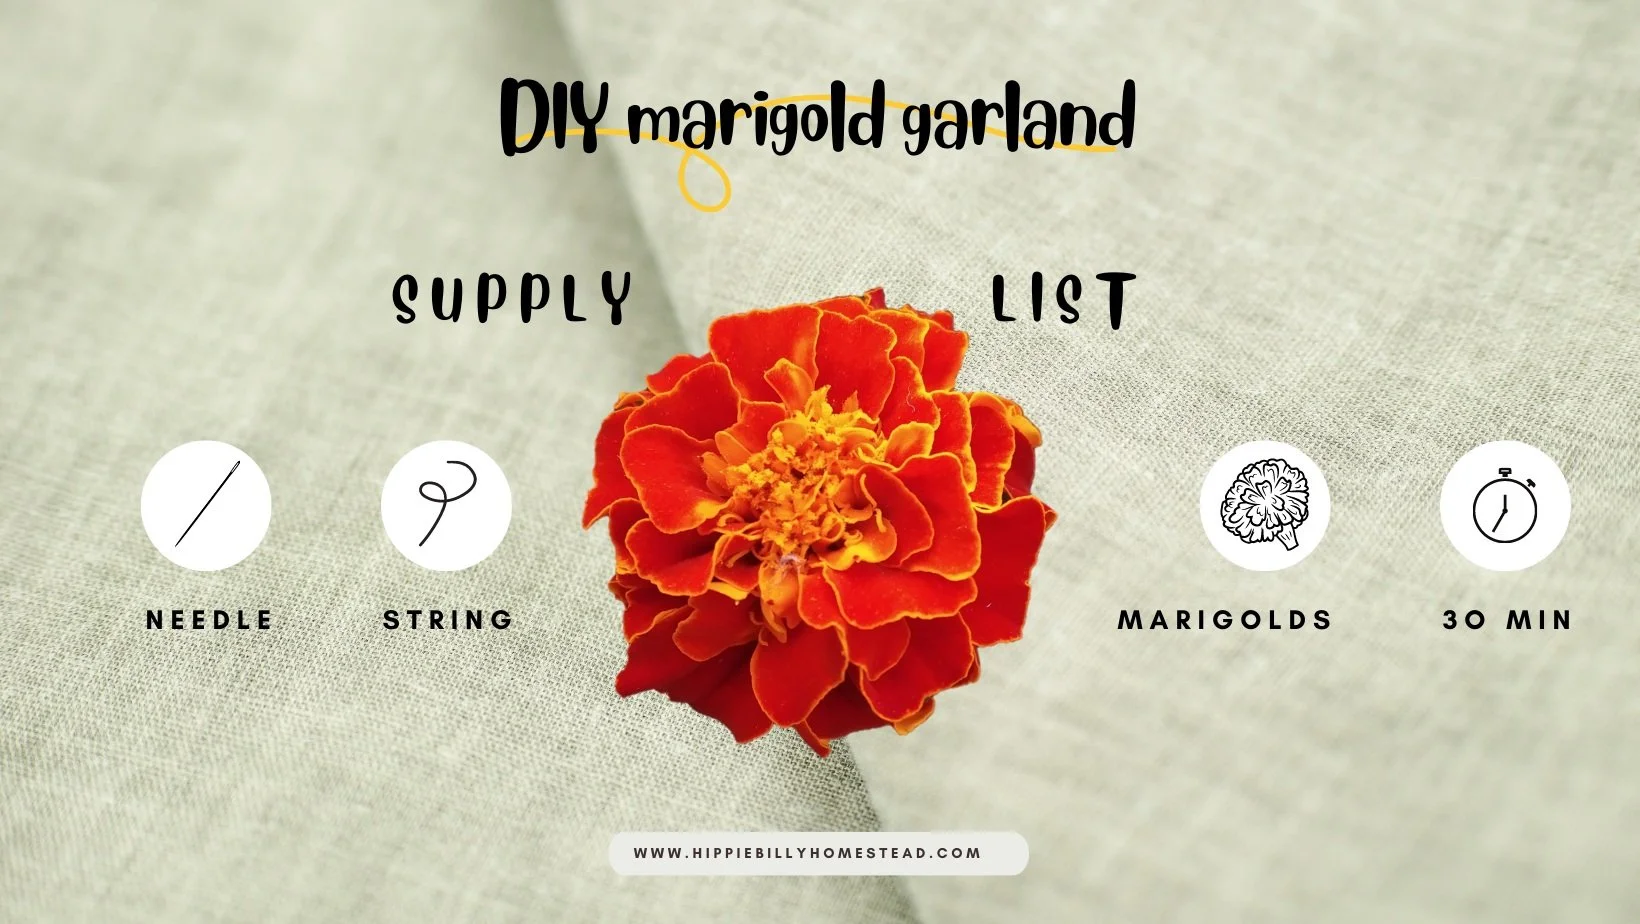
You’ll need:
1 needle (I used a metal sewing needle but a kid-friendly plastic needle should work as well!)
string of desired length; mine was about 3’ long and I used fishing line because that’s what I had!
50-100 marigold blossoms (see note above, 100 should be appropriate for 6 feet of garland)
To start,
Tie a knot at the end of your string. Thread your needle at the opposite end of your string.
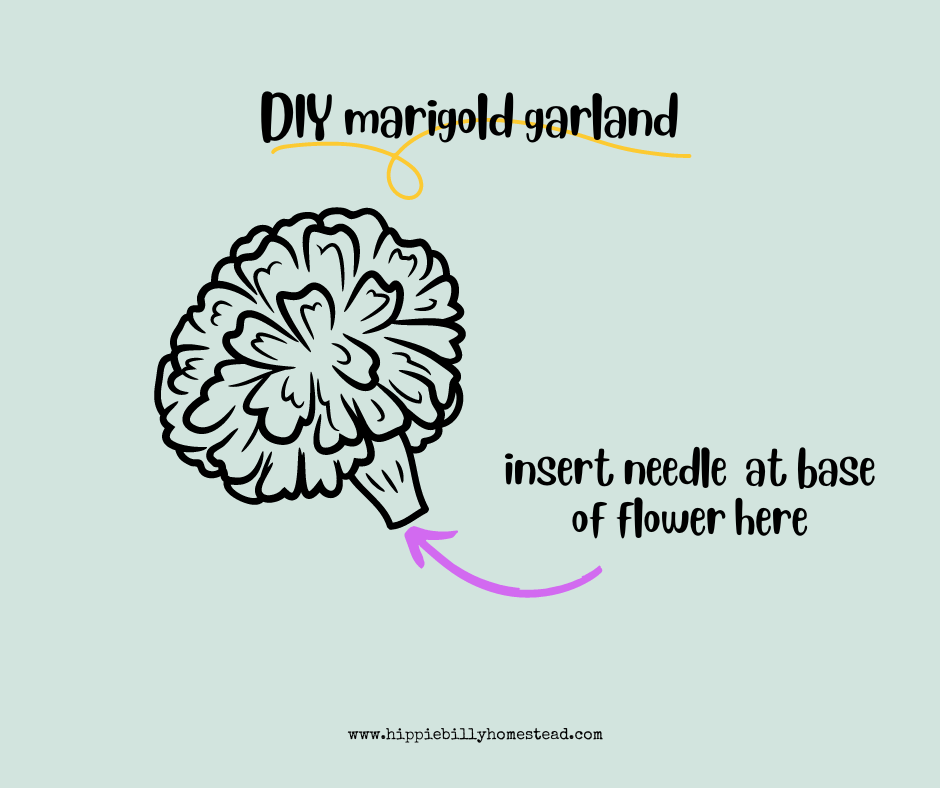
Start threading your marigolds, starting with the base of the flower (opposite side as the petals, see image below). Repeat until all of your flowers or string, whichever is used up first.
Tie off the remaining end.
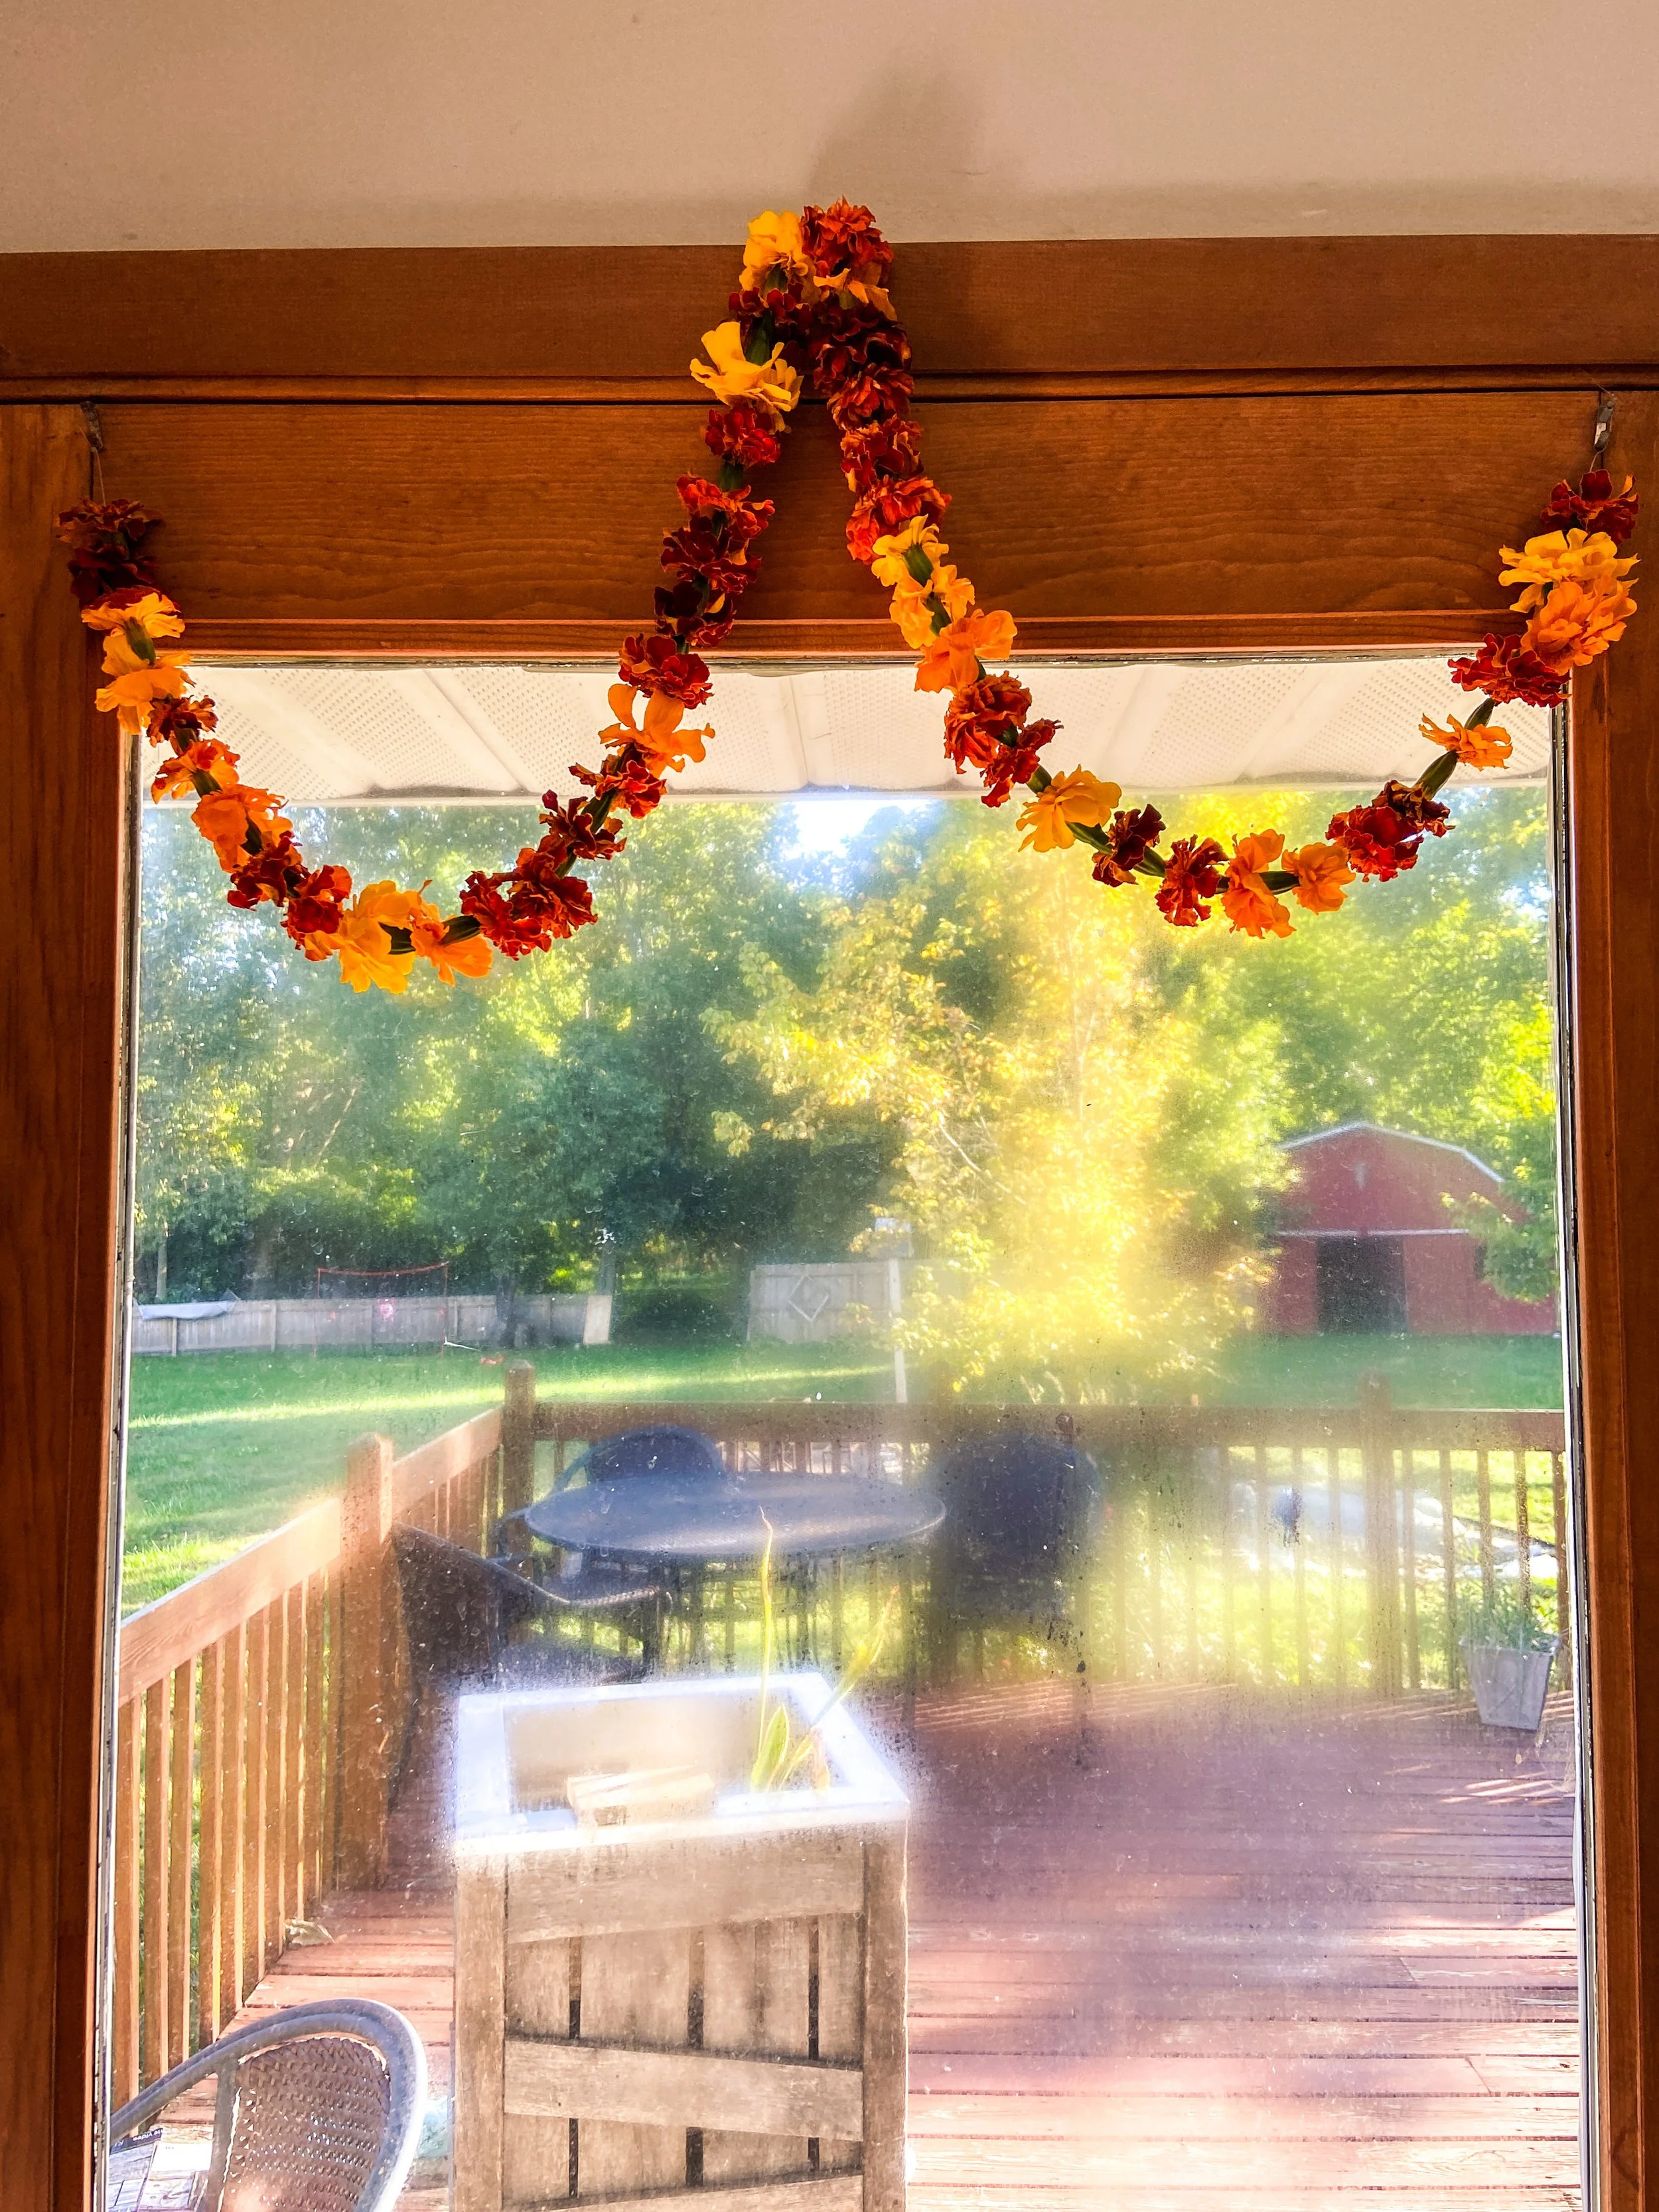
Hang in a doorway or fireplace (that you aren’t using) & enjoy!
When the flowers are completely dried, you can easily remove the from the garland and save the seeds. Have a plate or towel handy and while holding the base of the flower, pull the petals off. Then you can pull the seeds out and save them in a paper packet to grow again next spring.
